Create a Workflow
Workflows allow you to automate multi-step development processes across multiple branches and worktrees simultaneously. Instead of opening a terminal in each worktree to run repetitive commands, you can configure a reusable command sequence once and execute it whenever needed.
How to Create a Workflow
- Navigate to Workflow in the sidebar.
- Click the Add button in the top toolbar or press Shift + A.
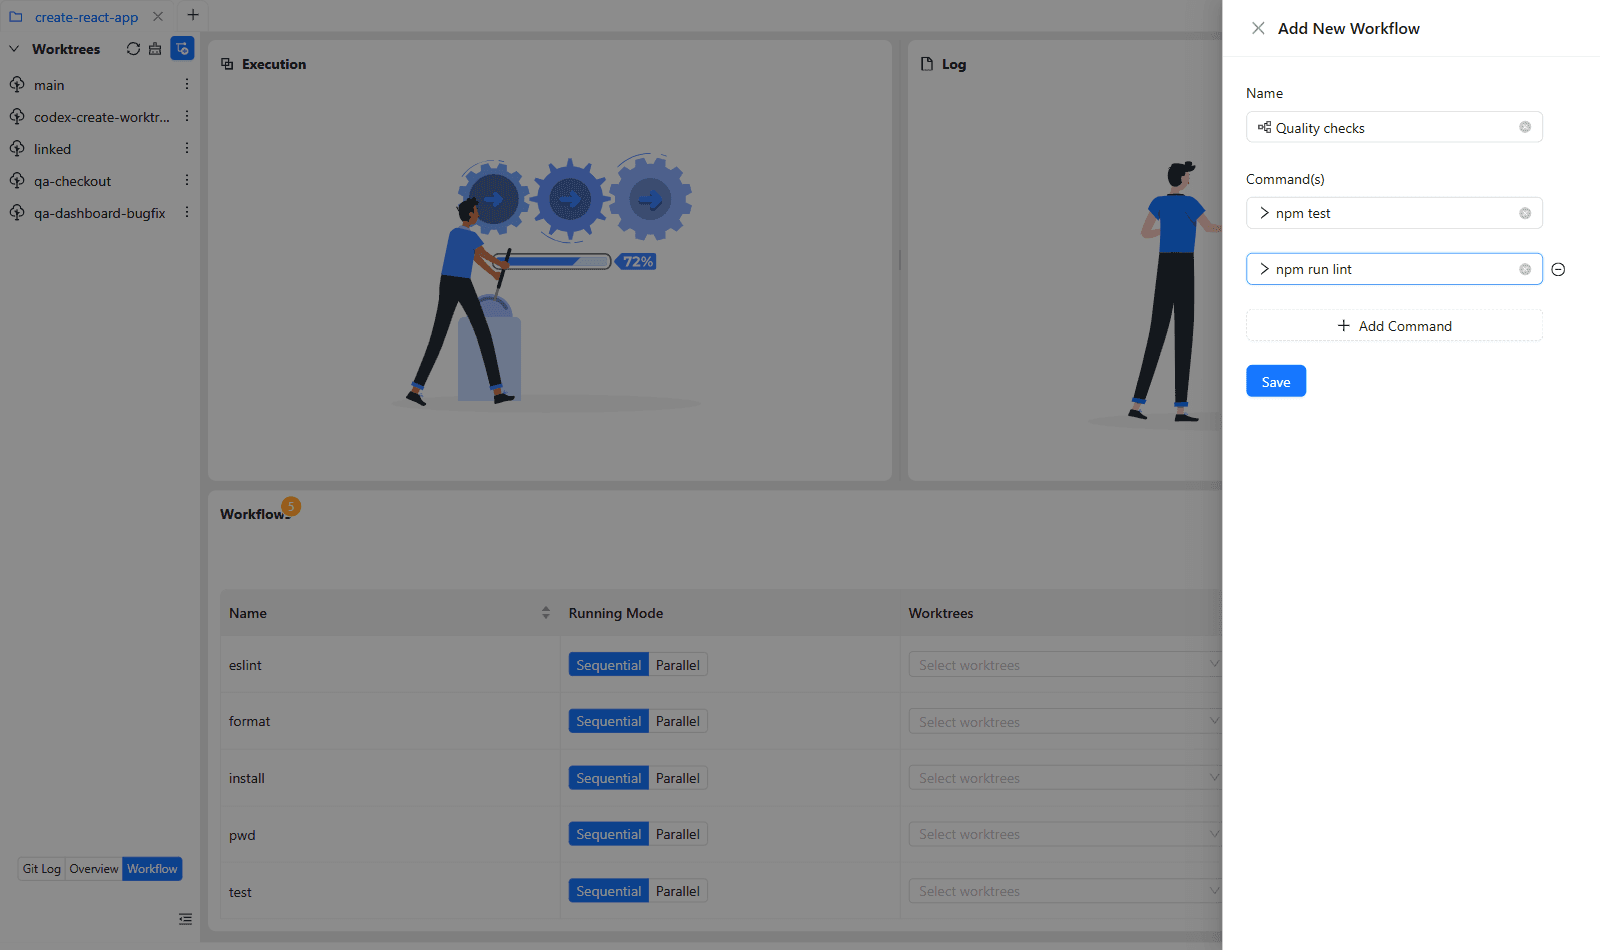
- A slide-out drawer appears on the right:
- Name: Enter a clear, purpose-based name (e.g.,
Quality Checks,Setup New Worktree,Full Build). - Command: Enter the first command to execute.
- Click Add Command to append additional steps. Commands execute strictly from top to bottom in the order listed.
- Name: Enter a clear, purpose-based name (e.g.,
- Click Save to add the workflow to your repository’s workflow library.
Command Ordering & Execution Flow
Workflows execute commands sequentially within each target worktree:
- Step 1 runs in the worktree root (
cwd). - If Step 1 exits with code
0(success), Step 2 begins immediately. - If any step fails (non-zero exit code), execution stops immediately for that worktree, and the error is flagged in the live Log panel.
Common Workflow Examples
Modern Web App (Node.js / TypeScript)
- Name:
Verify Pull Request - Commands:
npm cinpm run lintnpm run test -- --cinpm run build
Full-Stack Database Workflow
- Name:
Reset & Seed Database - Commands:
npx prisma migrate reset --forcenpx prisma db seednpm test
Rust Project
- Name:
Cargo Check & Test - Commands:
cargo check --all-targetscargo clippy -- -D warningscargo test
Python Project
- Name:
Pytest & Typecheck - Commands:
poetry install --no-rootruff check .mypy srcpytest
Running the New Workflow
Once saved:
- Locate the workflow in the Saved Workflows table.
- Select your desired execution mode: Sequential or Parallel.
- In the Worktrees dropdown, check the worktrees you want to run this workflow on.
- Click the green Play (▶) button.