Unlock a Git Worktree
Unlocking a worktree lifts the administrative freeze placed on it, restoring full maintenance capabilities such as renaming, moving, pruning, and deletion.
When to Unlock a Worktree
You should unlock a worktree when the original reason for safeguarding it is complete:
- A long-running build, benchmark, or continuous integration run has concluded.
- A release candidate has been signed off or merged into the production branch.
- You are ready to clean up disk space by deleting or pruning the worktree.
- You need to rename the worktree or relocate its directory to a different folder.
How to Unlock a Worktree
- In the Worktrees panel, locate the locked worktree (marked with a Lock icon 🔒).
- Click the three-dot Actions menu next to the worktree.
- Select Unlock.
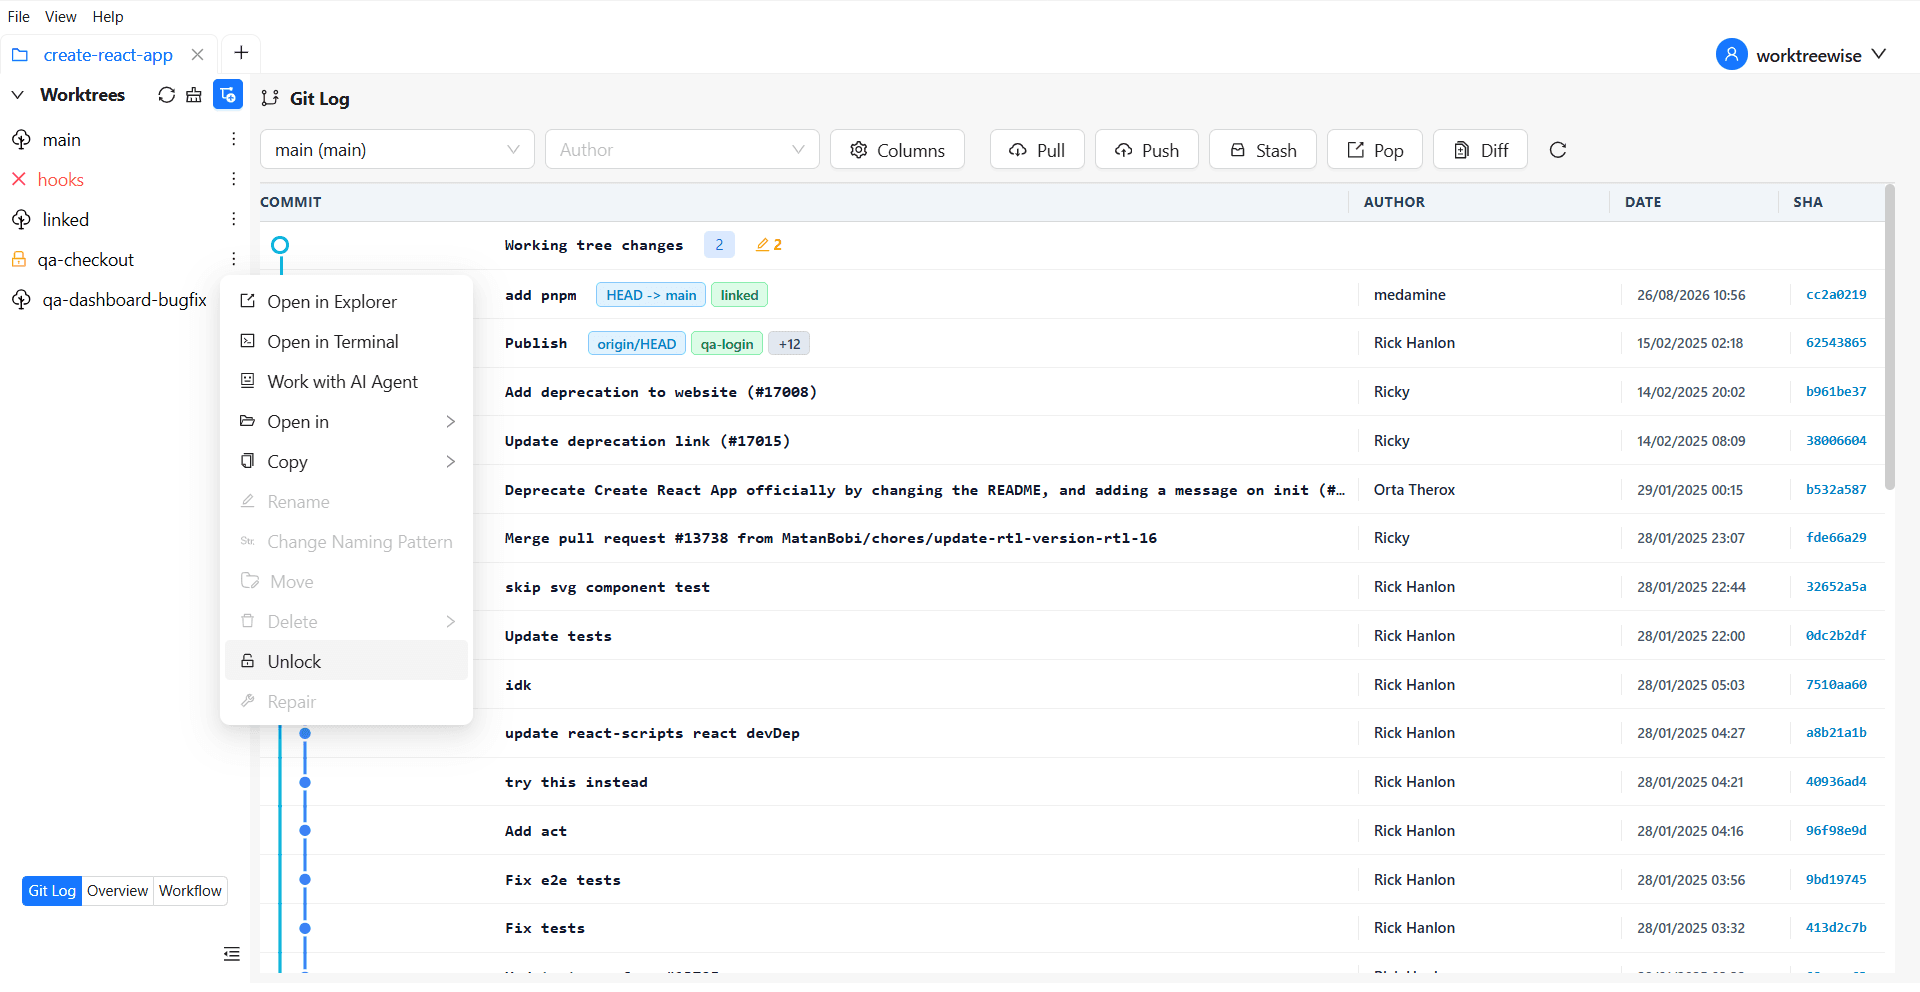
- WorktreeWise immediately communicates with Git to remove the lock metadata. A success notification confirms the action.
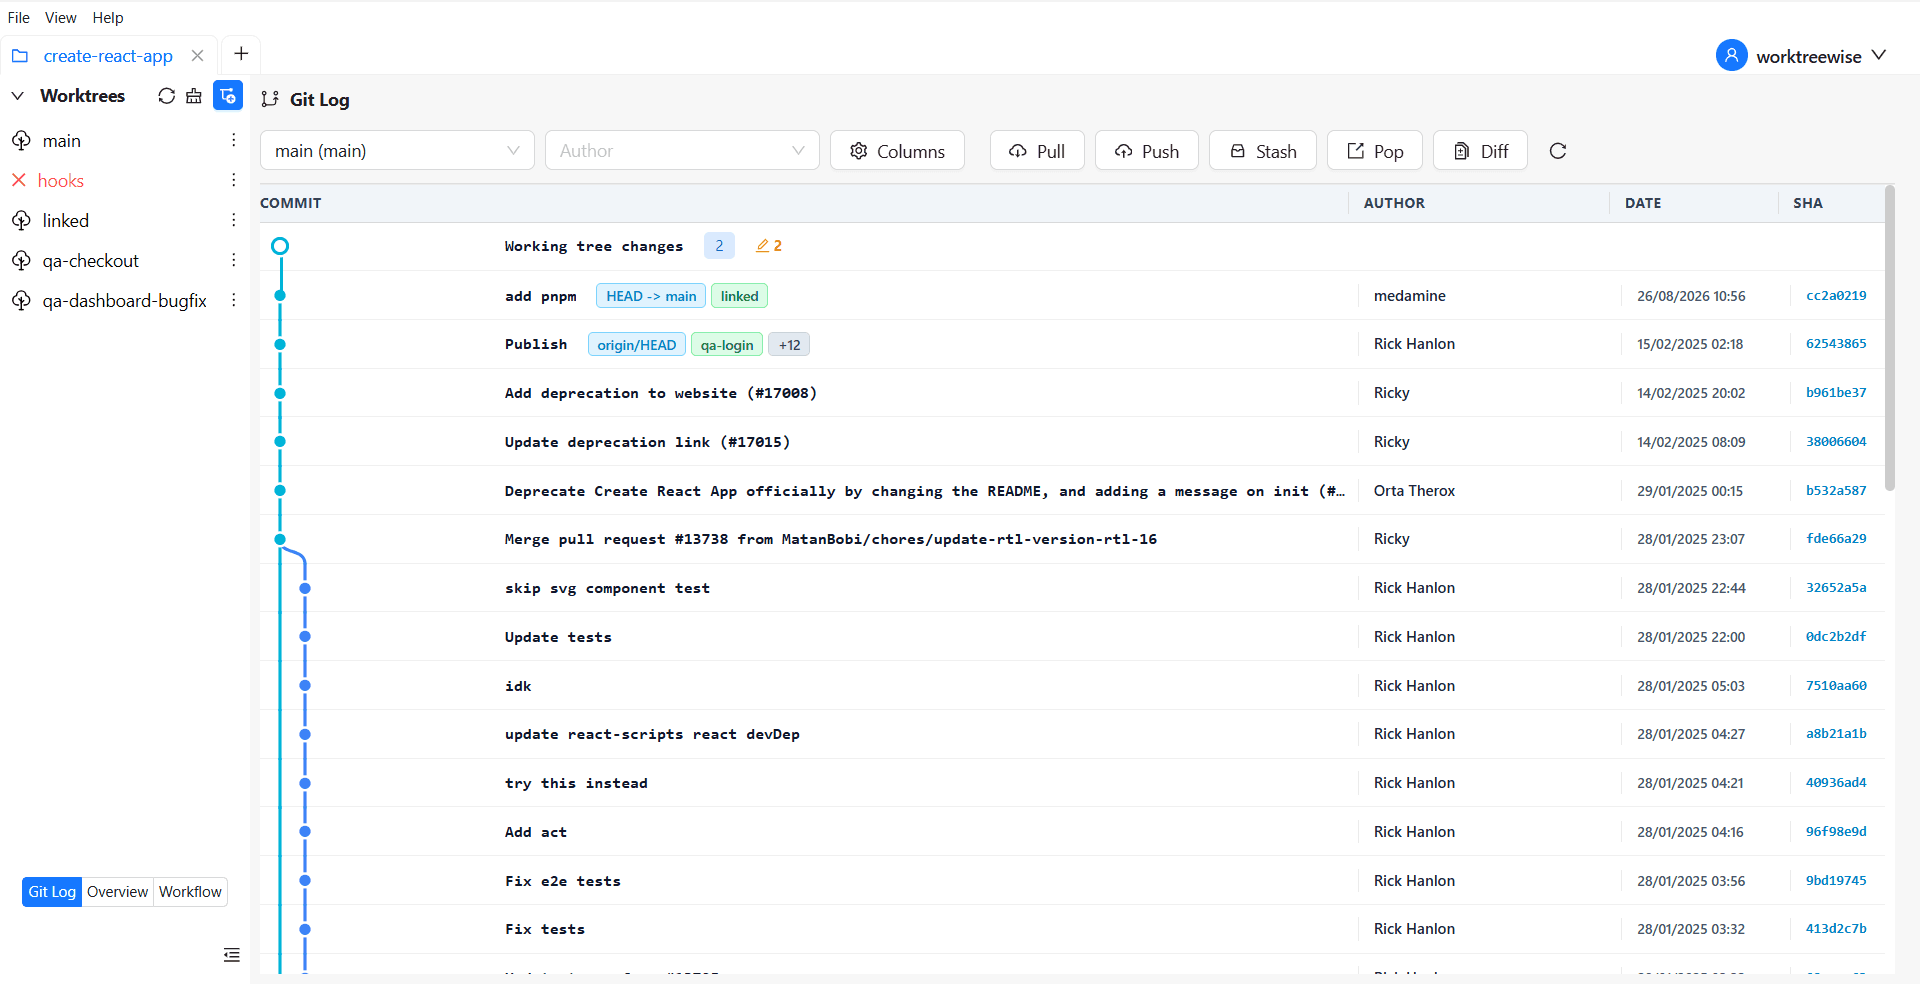
What Happens After Unlocking
- Lock Metadata Cleared: The recorded lock reason and the internal Git lockfile (
.git/worktrees/<name>/locked) are removed. - Operations Restored: The Delete, Rename, and Change Folder (Move) actions in the Actions menu are immediately re-enabled.
- Zero File Impact: Unlocking does not touch your source files, uncommitted edits, or local branch commit history.
- Prune Eligibility: If the worktree directory is later removed from disk, Git and WorktreeWise will safely recognize it as a candidate for pruning.