Settings
WorktreeWise provides extensive configuration options to customize your worktree creation defaults, editor integrations, AI coding agents, terminal shells, Git behavior, and text encoding.
To open Settings:
- Click on File → Settings in the application menu.
- Or press the keyboard shortcut Shift + S.
All settings are automatically persisted to local configuration and applied across your repositories.
Worktrees Settings
The Worktrees settings tab configures the default folder structure and naming convention used when creating new worktrees.
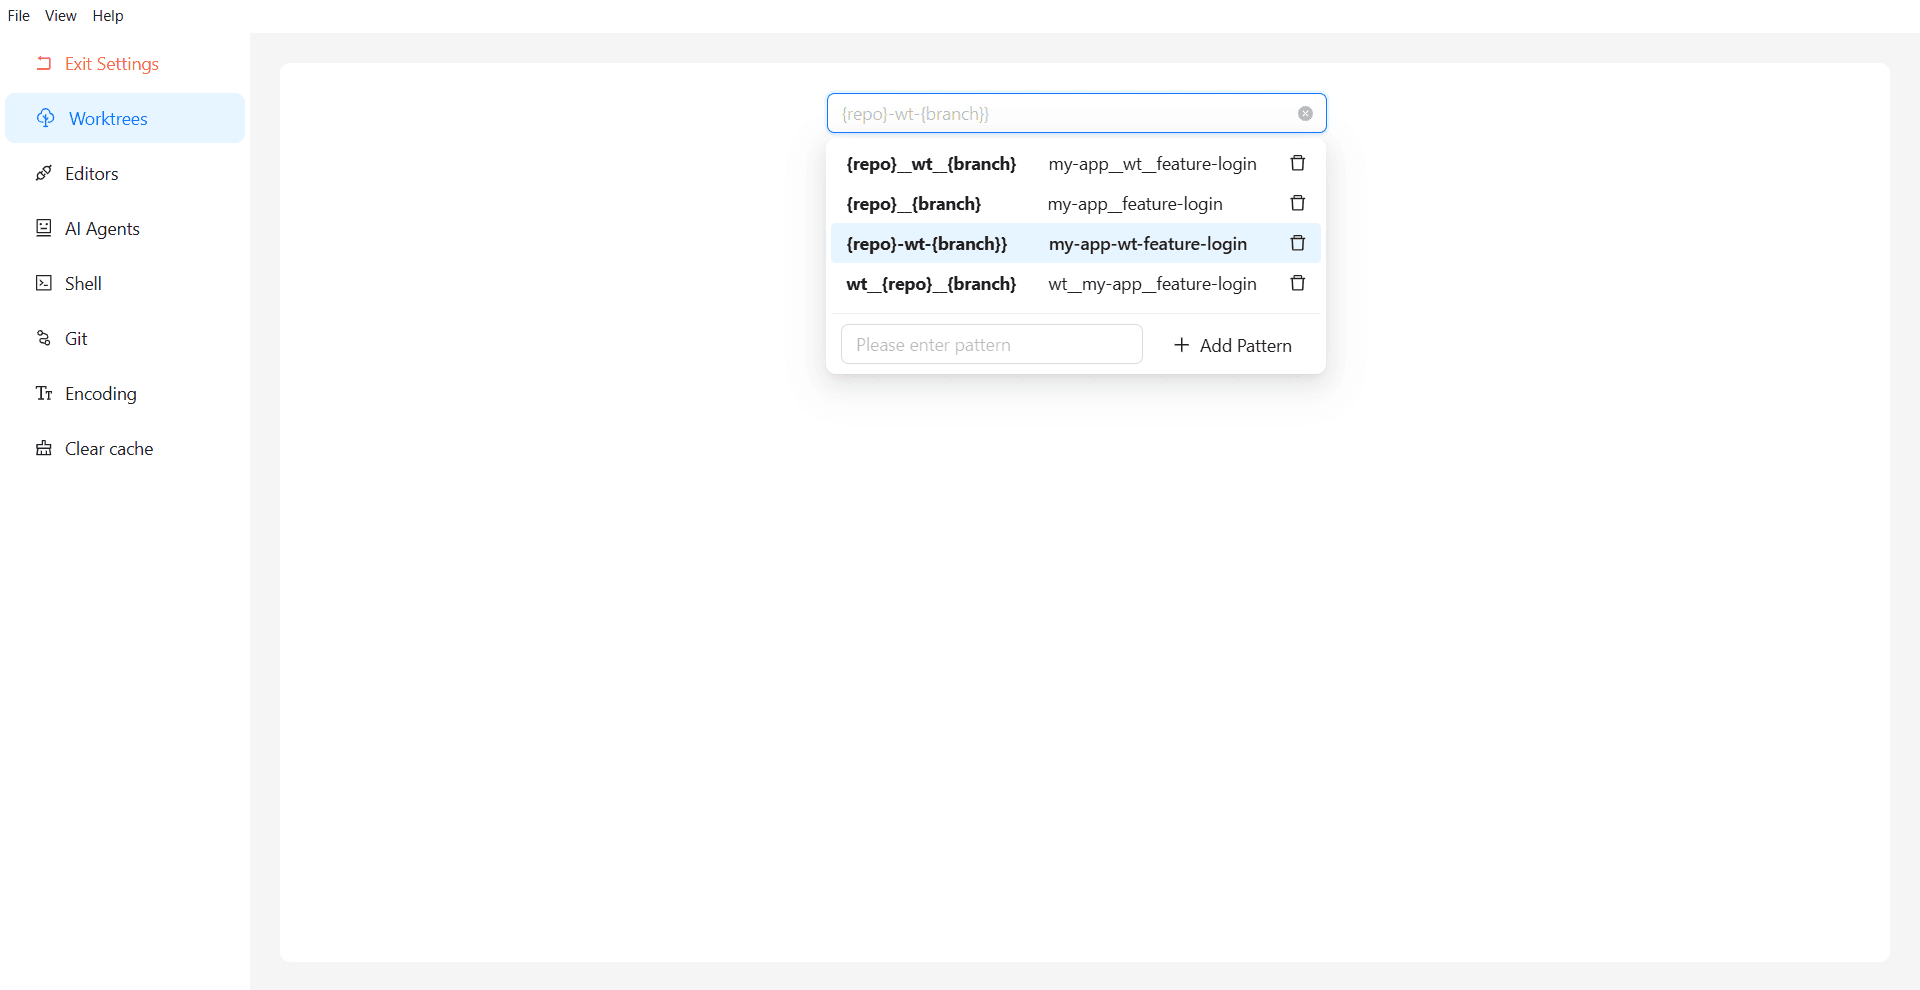
Naming Patterns
When you create a worktree, WorktreeWise generates its directory path automatically based on a configurable naming pattern. This keeps your workspace organized and ensures consistent folder hierarchies across teams.
Supported Placeholders
| Placeholder | Description | Example Replacement |
|---|---|---|
{repo} | The name of the primary repository | my-project |
{branch} | The sanitized branch or tag name | feature-auth |
Built-in Pattern Options
WorktreeWise comes with several preconfigured naming templates:
{repo}__wt__{branch}(Default): Produces folder names likemy-project__wt__feature-auth. The double-underscore delimiter makes it easy to visually distinguish repository root, worktree marker (wt), and branch name.{repo}__{branch}: Produces folder names likemy-project__feature-auth.{repo}-wt-{branch}: Produces folder names likemy-project-wt-feature-auth.wt__{repo}__{branch}: Produces folder names likewt__my-project__feature-auth, clustering all worktrees together when sorted alphabetically in a parent directory.
Adding Custom Naming Patterns
You can define your own naming pattern to match your organization’s folder conventions:
- In Settings → Worktrees, expand the pattern dropdown.
- Type your desired pattern in the input box at the bottom of the popup (for example,
worktrees/{branch}orwt-{repo}-{branch}). - Click the + (Add) button.
- Your custom pattern is immediately saved and available for selection.
- To delete a custom pattern, hover over it in the list and click the red trash icon.
Editors Settings
The Editors settings tab allows you to configure external IDEs and code editors so you can launch any worktree with a single click.
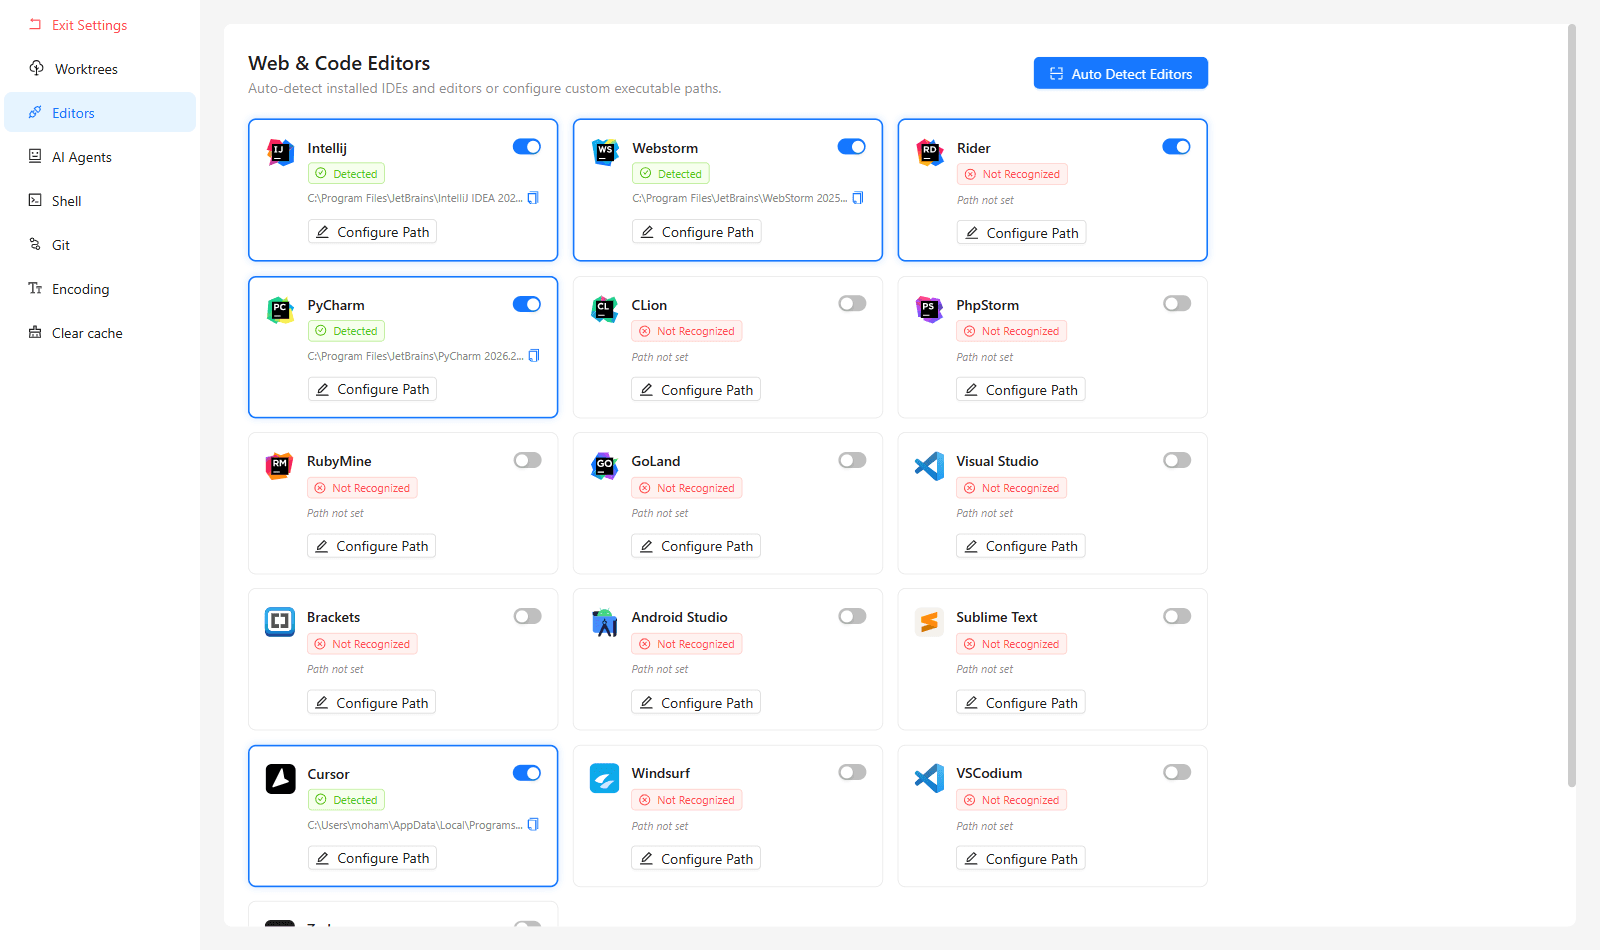
Supported Editors
WorktreeWise supports a wide variety of modern development environments:
- VS Code Family: Visual Studio Code, Cursor, Windsurf, VSCodium.
- JetBrains Family: WebStorm, IntelliJ IDEA, Rider, PyCharm, CLion, PhpStorm, RubyMine, GoLand, Android Studio.
- Modern Text Editors: Zed, Sublime Text, Brackets.
Automatic Detection (Scan)
Click the Scan button in the top-right corner to trigger automatic editor detection (editors:detect-all). WorktreeWise scans standard system installation directories, user application paths, and the system PATH to identify installed editors.
- When an editor is detected, a green Found badge appears along with the detected version.
- Detected editors are enabled automatically.
Enabling or Disabling Editors
- Click on any editor card to toggle its active state.
- Enabled editors display a highlighted blue border and appear in the Open in menu in the Worktree list.
- Disabled editors are excluded from action menus, keeping your interface clean.
Configuring Custom Executable Paths
If an editor is installed in a non-standard location or portable directory:
- Click the Pencil icon (✏️) on the editor card.
- Enter the absolute path to the executable file.
- Click Edit to save.
Example Paths by Operating System
| Editor | Windows | macOS | Linux |
|---|---|---|---|
| VS Code | C:\Program Files\Microsoft VS Code\bin\code.cmd | /Applications/Visual Studio Code.app/Contents/Resources/app/bin/code | /usr/share/code/code |
| Cursor | C:\Users\%USERNAME%\AppData\Local\Programs\cursor\resources\app\bin\cursor.cmd | /Applications/Cursor.app/Contents/Resources/app/bin/cursor | /usr/bin/cursor |
| Windsurf | C:\Users\%USERNAME%\AppData\Local\Programs\windsurf\bin\windsurf.cmd | /Applications/Windsurf.app/Contents/Resources/app/bin/windsurf | /usr/bin/windsurf |
| WebStorm | C:\Program Files\JetBrains\WebStorm\bin\webstorm.bat | /Applications/WebStorm.app/Contents/MacOS/webstorm | /opt/webstorm/bin/webstorm |
| IntelliJ IDEA | C:\Program Files\JetBrains\IntelliJ IDEA\bin\idea64.exe | /Applications/IntelliJ IDEA.app/Contents/MacOS/idea | /opt/idea/bin/idea.sh |
| Sublime Text | C:\Program Files\Sublime Text\subl.exe | /Applications/Sublime Text.app/Contents/SharedSupport/bin/subl | /usr/bin/subl |
AI Agents Settings
The AI Agents tab enables and configures terminal-based AI coding assistants that run directly inside worktree-scoped panes.
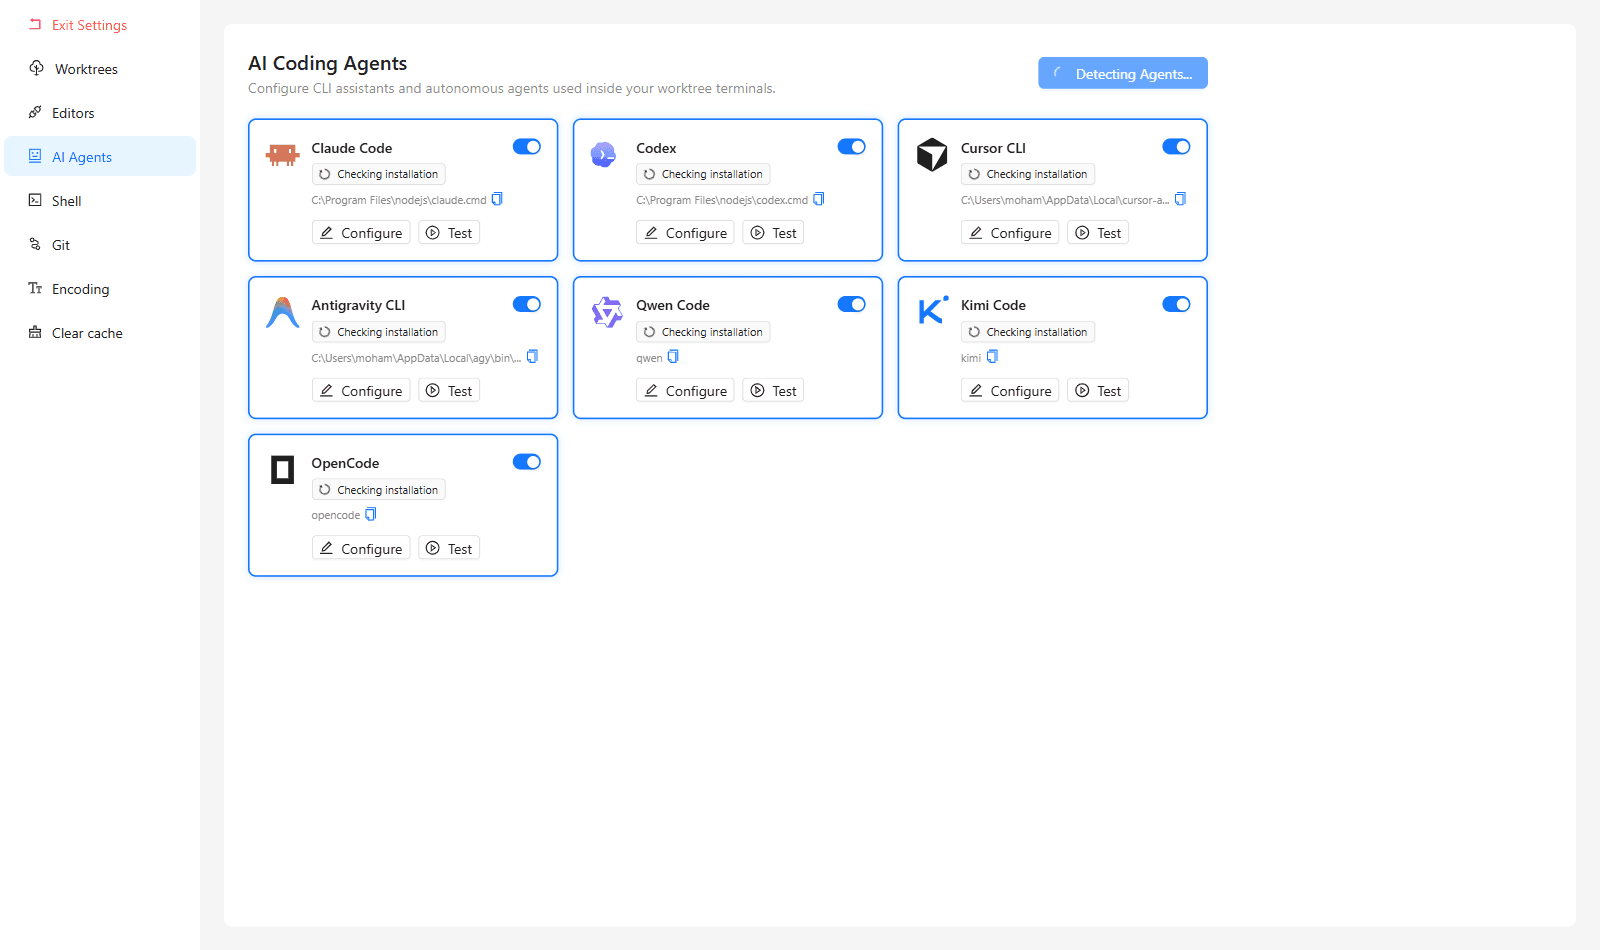
Supported AI Coding Agents
WorktreeWise includes first-class support for 7 popular AI coding agents:
- Claude Code (
claude):- Command:
claude - Installation:
npm install -g @anthropic-ai/claude-code - Requirement: Node.js 18 or later
- Command:
- Codex (
codex):- Command:
codex - Installation:
npm install -g @openai/codex
- Command:
- Cursor CLI (
cursor):- Command:
cursor-agent - Windows Installation:
irm 'https://cursor.com/install?win32=true' | iex(PowerShell)
- Command:
- Antigravity CLI (
antigravity):- Command:
agy - Installation:
irm https://antigravity.google/cli/install.ps1 | iex(PowerShell)
- Command:
- Qwen Code (
qwen):- Command:
qwen - Installation:
npm install -g @qwen-code/qwen-code@latest - Requirement: Node.js 22 or later
- Command:
- Kimi Code (
kimi):- Command:
kimi - Installation:
npm install -g @moonshot-ai/kimi-code - Requirement: Node.js 22.19 or later
- Command:
- OpenCode (
opencode):- Command:
opencode - Installation:
npm install -g opencode-ai
- Command:
Agent Configuration & Testing
- Auto-detection: WorktreeWise checks which agent binaries are present in your system
PATH. - Toggle State: Use the switch on each card to enable or disable agents for terminal sessions.
- Custom Arguments: Click the pencil icon to specify custom binary paths or CLI arguments (e.g., flags to specify default models or custom config paths).
- Test Agent Execution: Click Test on any agent card to run a diagnostic check. WorktreeWise executes the binary in a sandboxed test run and outputs stdout/stderr so you can verify authentication and installation health before starting real tasks.
Shell Settings
The Shell settings tab controls which command-line shell is launched inside embedded terminal panes.
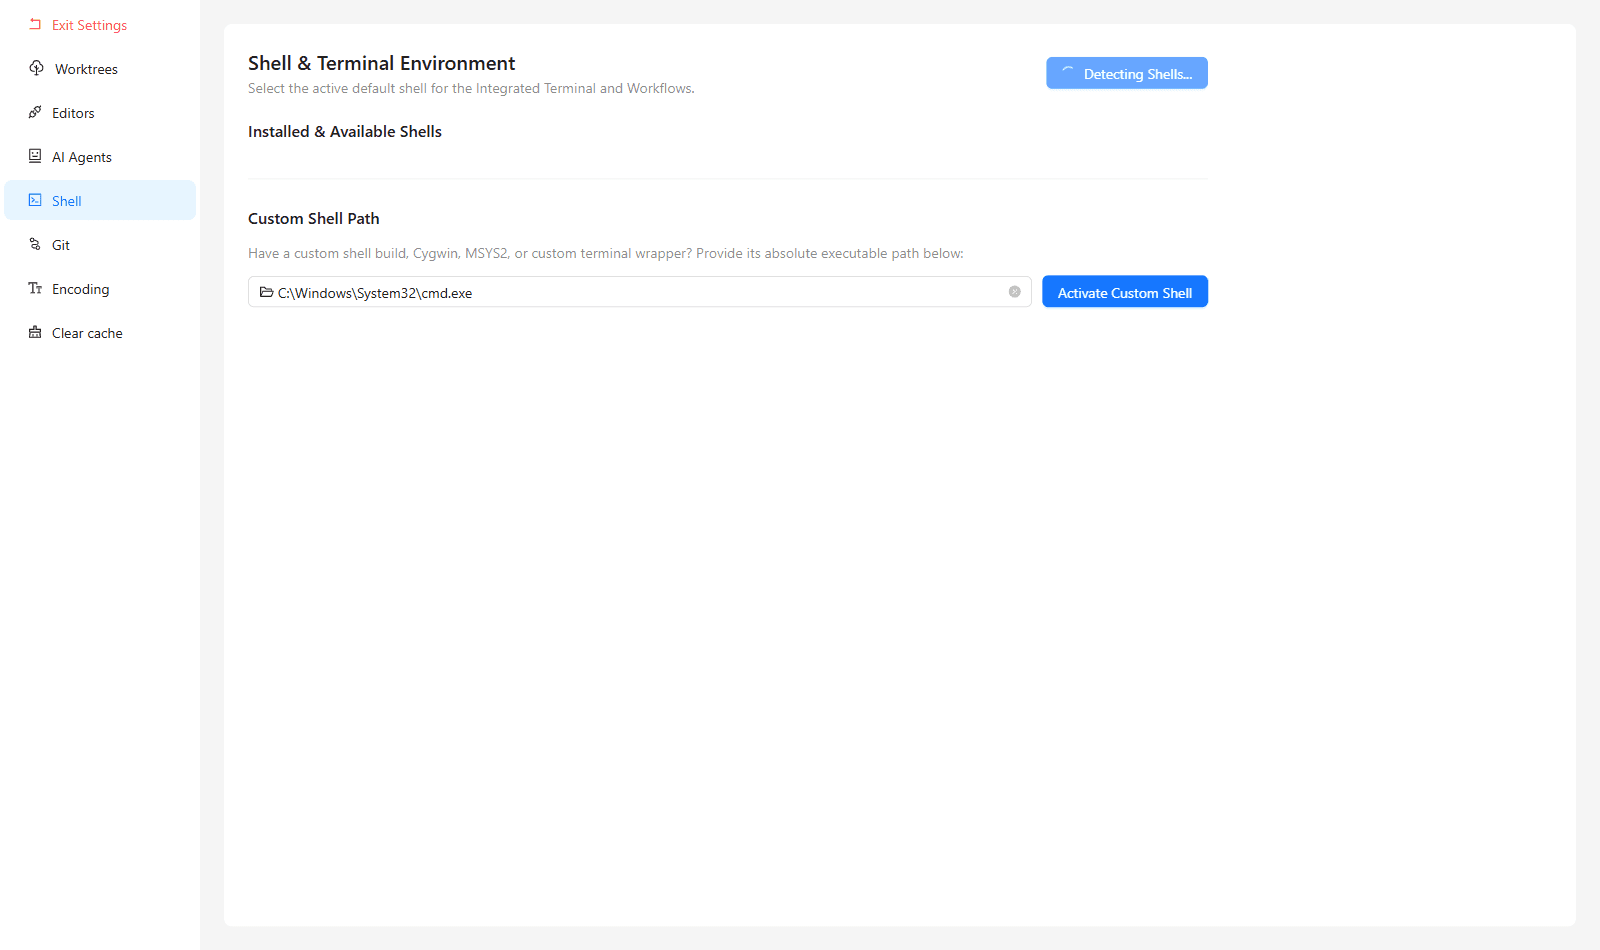
Shell Detection & Selection
WorktreeWise automatically discovers installed shells across standard platform paths:
- Windows: PowerShell (
pwsh), Windows PowerShell (powershell), Command Prompt (cmd), Git Bash (git-bash), WSL (wsl). - macOS & Linux: Zsh (
zsh), Bash (bash), Fish (fish), Nushell (nu), POSIX Shell (sh).
Click on any detected shell card to make it the active shell for all newly opened embedded terminals.
Custom Shell Path
If you use a specialized shell or custom installation directory:
- Enter the absolute path in the Custom shell path input field.
- Click the folder icon to browse the filesystem if preferred.
- Click Apply to activate the custom shell.
Git Settings
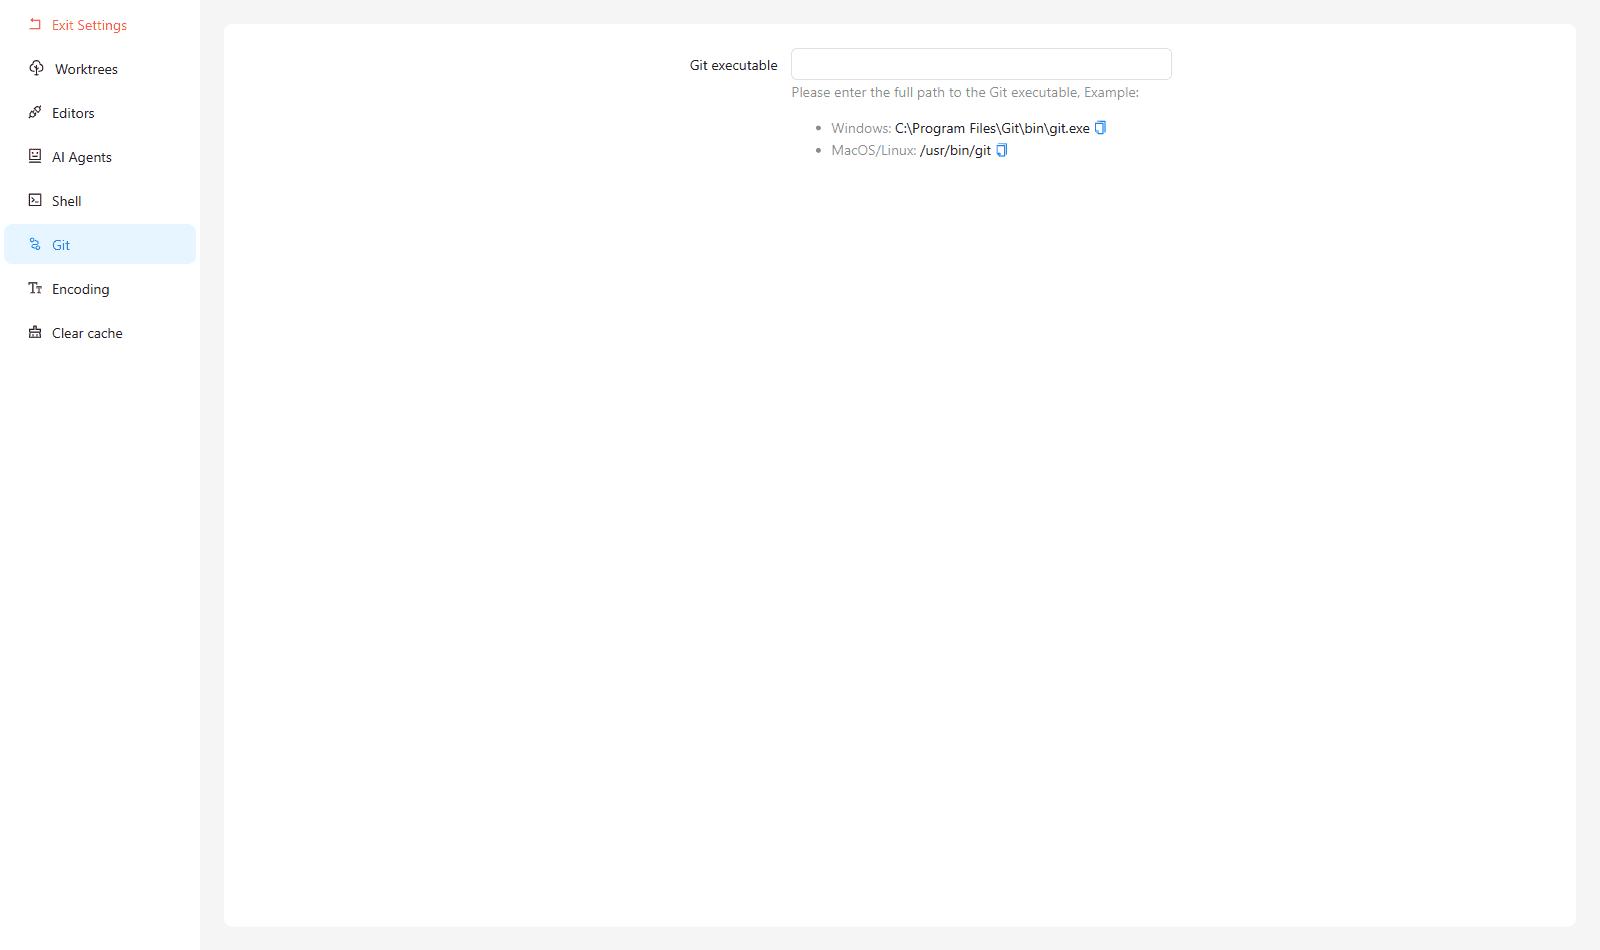
The Git tab configures the path to the Git binary used for all worktree operations, log queries, branch listings, and diffs.
Git Executable Path
By default, WorktreeWise relies on the git executable found in your system PATH. If you need to point to a specific Git installation (e.g. Git for Windows with specific credentials or a custom toolchain):
- Windows:
C:\Program Files\Git\bin\git.exe - macOS / Linux:
/usr/bin/gitor/usr/local/bin/git
Encoding Settings
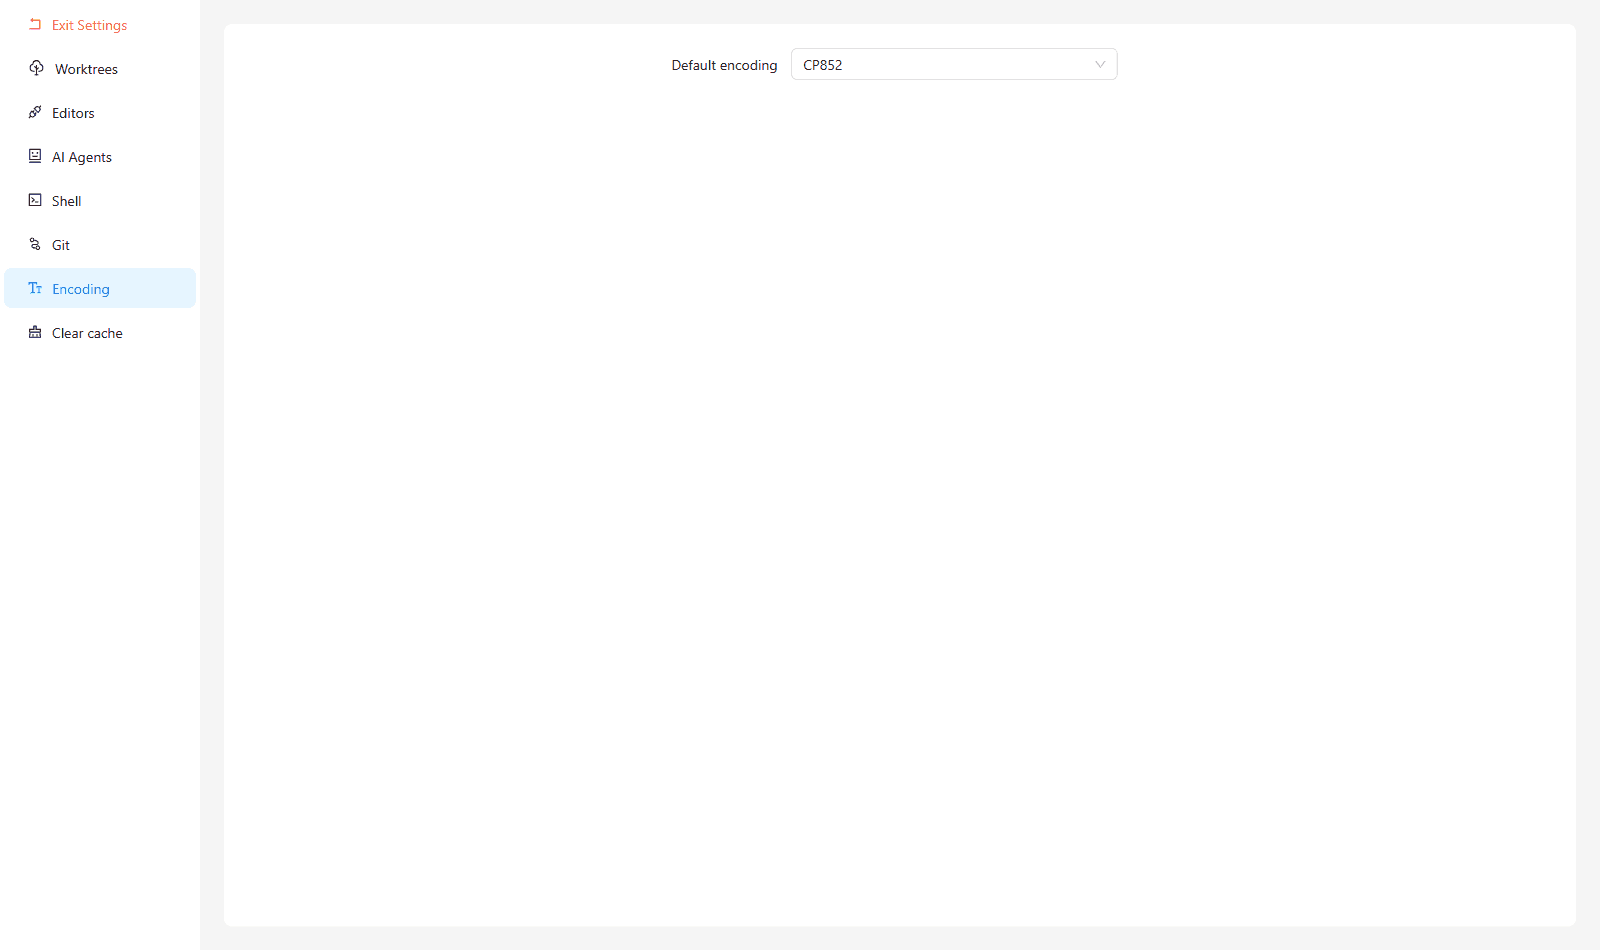
The Encoding settings tab specifies the character encoding used when reading Git command output and commit logs.
Supported Character Encodings
Select your preferred encoding from the dropdown (default is UTF-8). Supported options include:
- Unicode: UTF-8, UTF-16, UTF-32
- Western & European: ASCII, ISO-8859-1 through ISO-8859-16, Windows-1250 through Windows-1258, CP437, CP850, CP852, CP865, CP866
- East Asian: Shift JIS, EUC-JP, ISO-2022-JP, GB2312, GBK, GB18030, Big5, ISO-2022-CN, ISO-2022-KR
- Cyrillic: KOI8-R, KOI8-U, MacCyrillic
- Other: TIS-620, VISCII, MacRoman