WorktreeWise allows you to automate file creation with code generators.
A generator is a set of templates that can use parameters (like componentName) to create files in your worktrees.
Create a New Code Generator
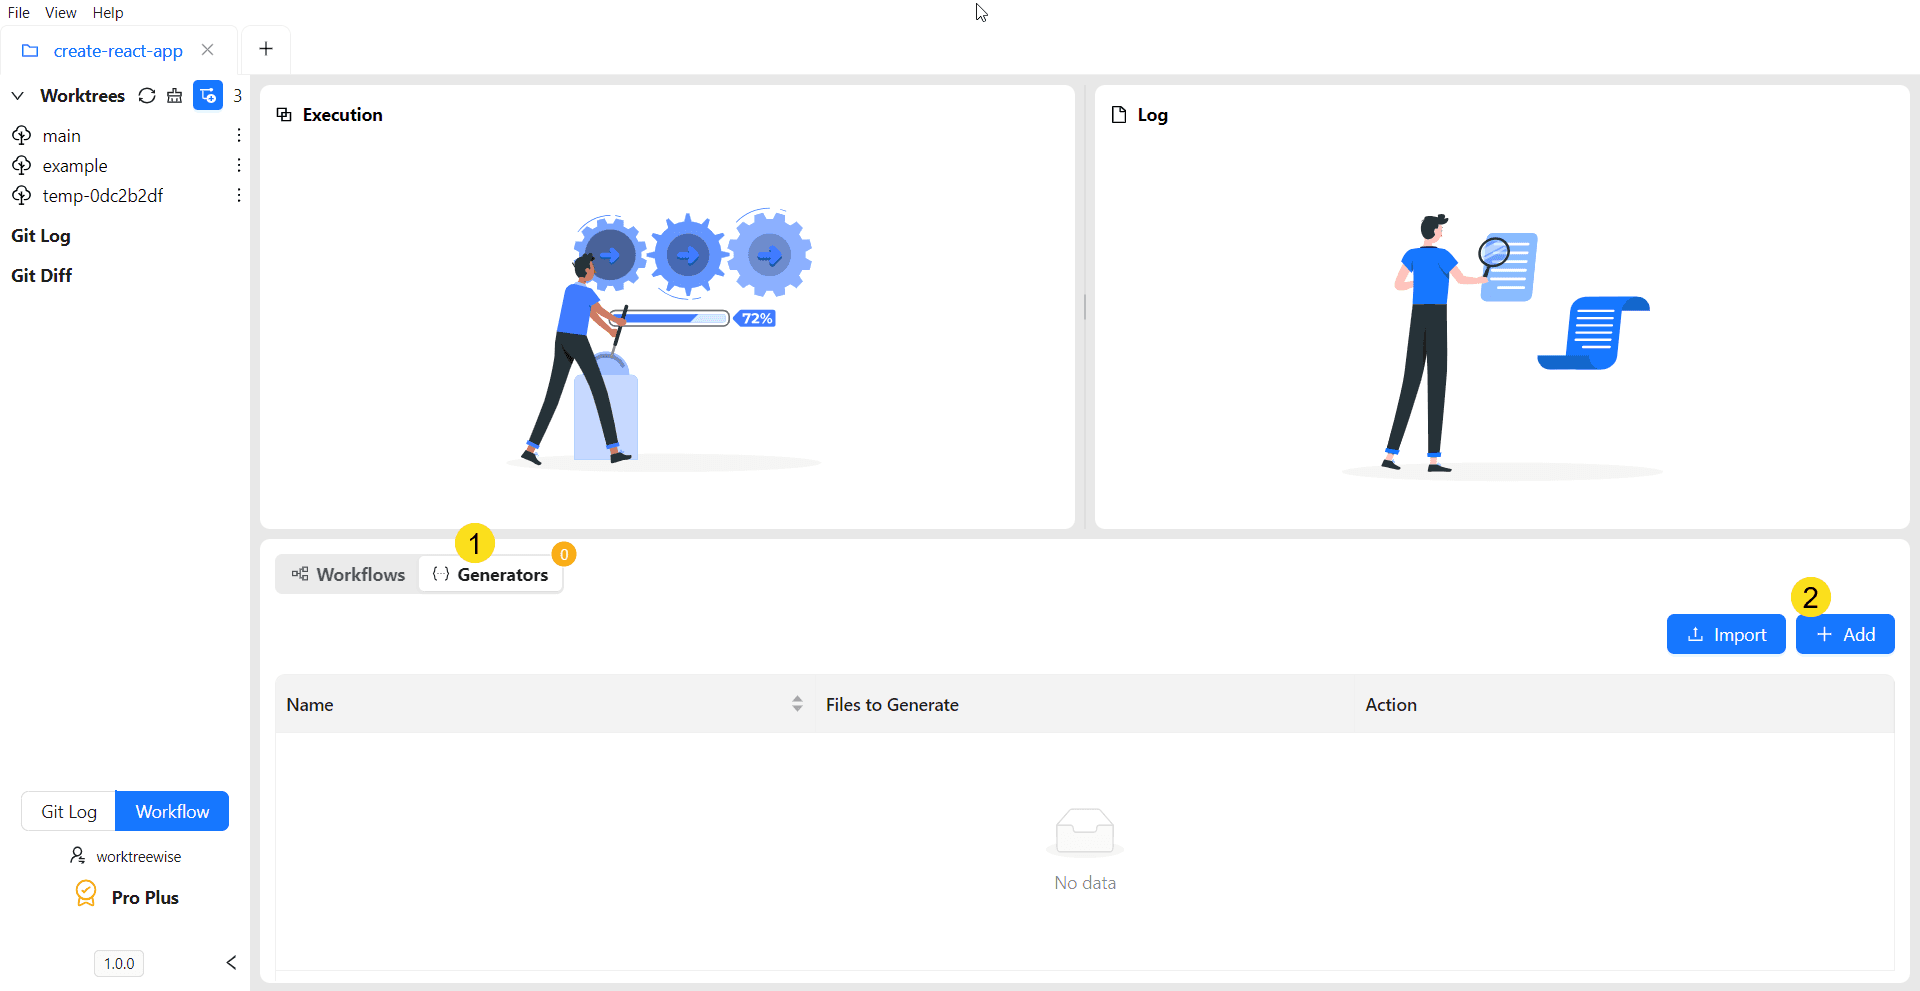
Step 1 – Open Code Generators
- In the bottom section, click on Generators option.
- Click on Add button.
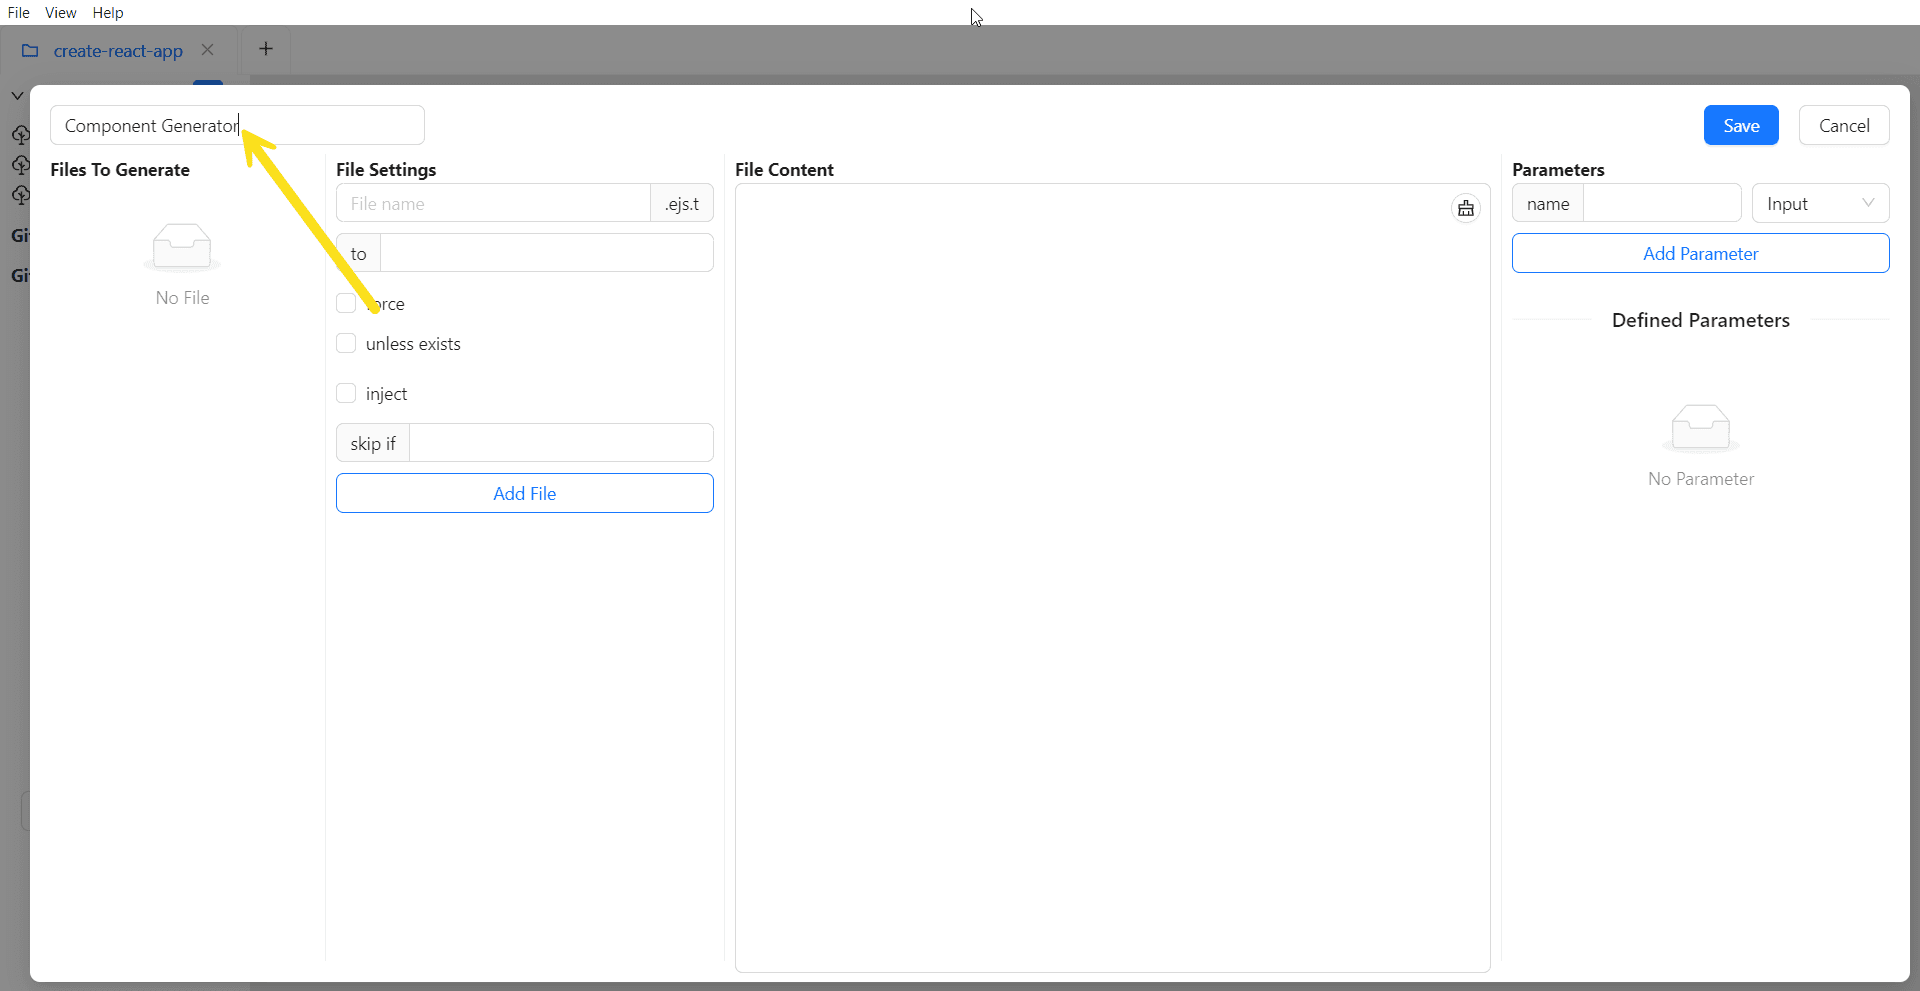
Step 2 – Enter Generator Name
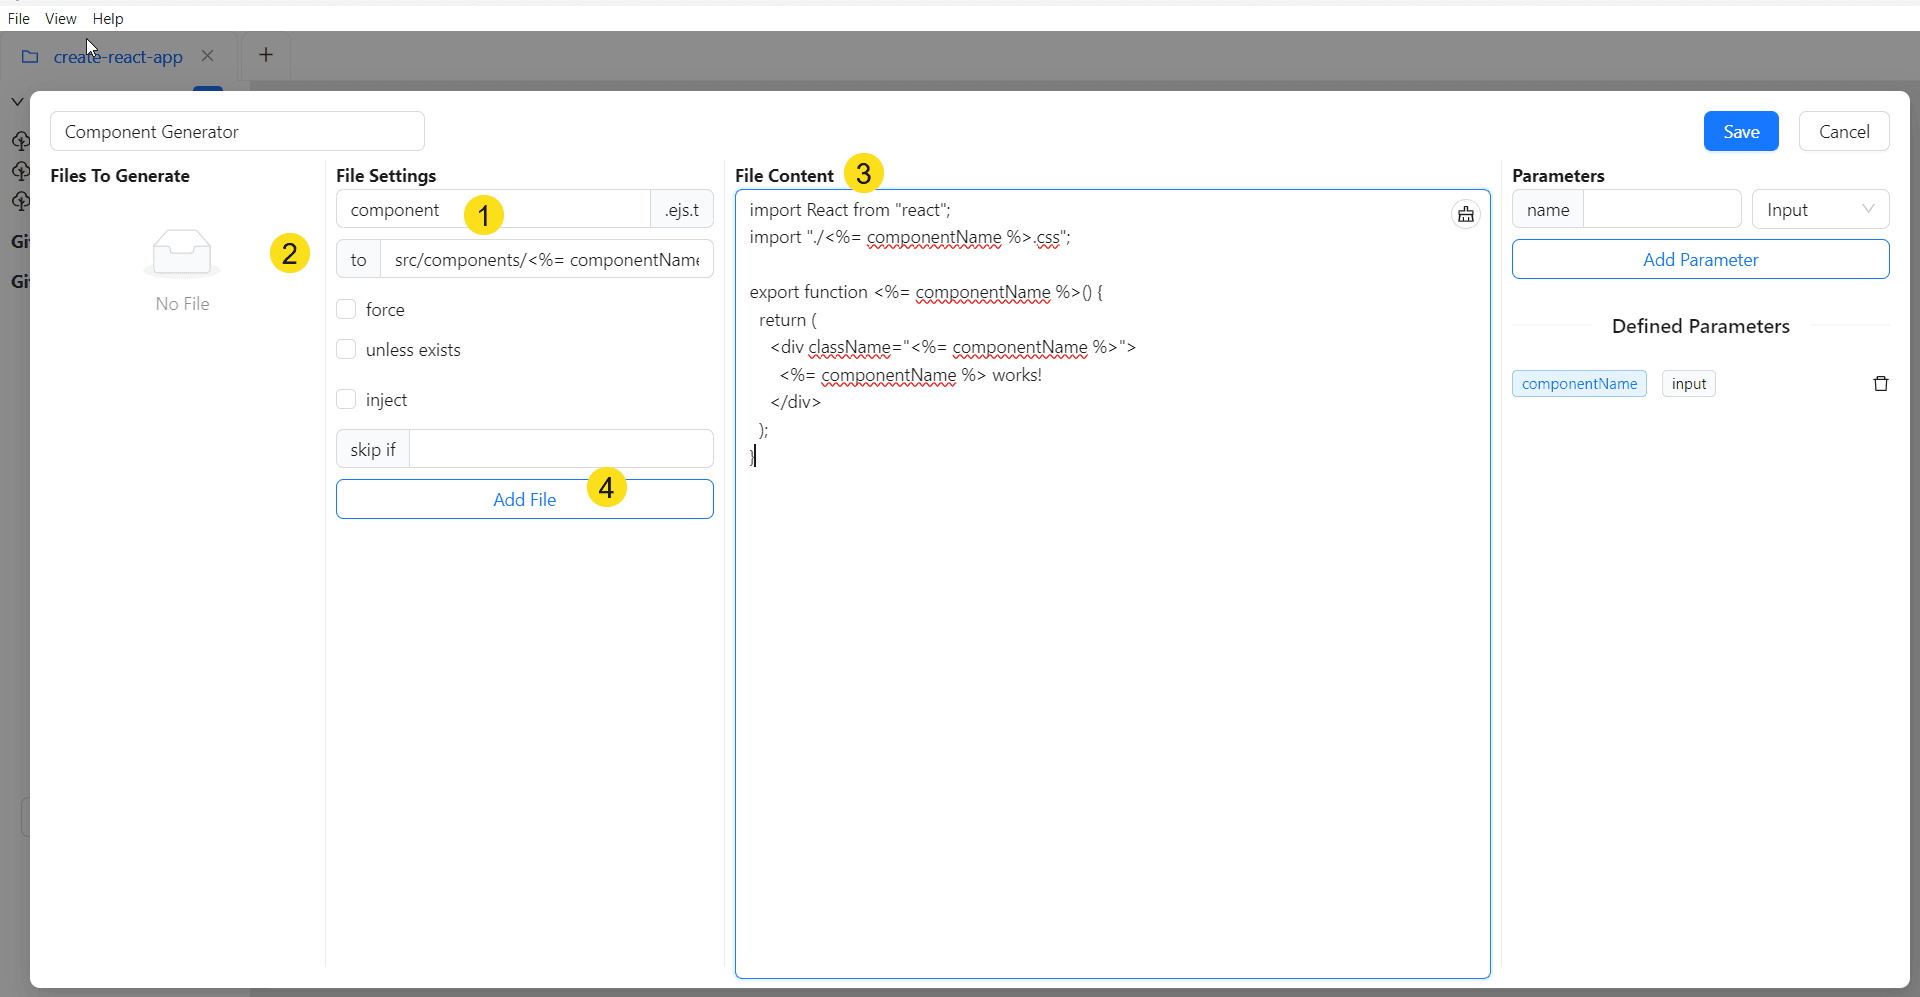
At the top, type a meaningful name for your generator, for example: Component Generator.
Step 3 – Define Parameters
On the right, you can define parameters that will be used inside your templates.
For example:
- Enter:
- Name:
componentName - Select:
Input - Click Add Parameter
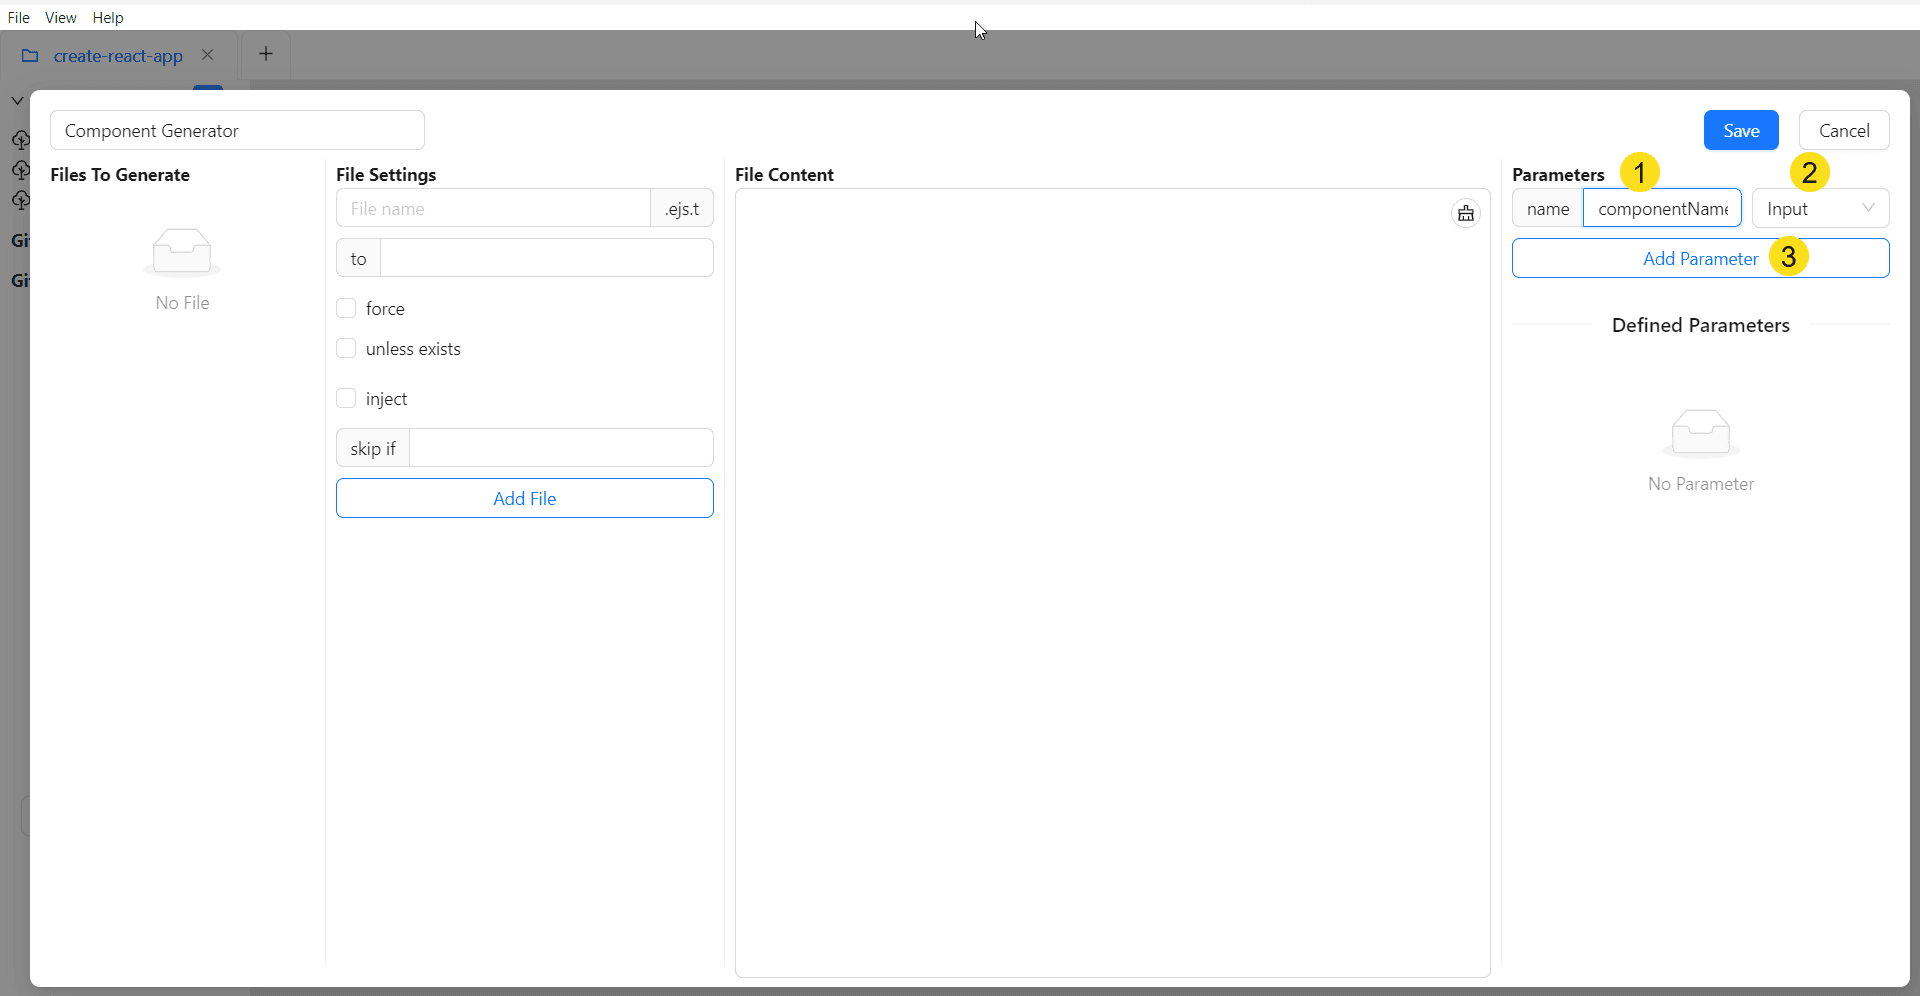
You can now use <%= componentName %> (EJS style) in your templates.
Step 4 – Add Files to Generate
In the Files To Generate section:
- Set the file name, e.g.
component - In the to field, enter the destination path, for example:
src/components/<%= componentName %>.tsx- In the File Content area, paste your template code, for example:
import React from "react";
import "./<%= componentName %>.css";

export function <%= componentName %>() {
  return (
    <div className="<%= componentName %>">
      <%= componentName %> works!
    </div>
  );
}- Click Add File
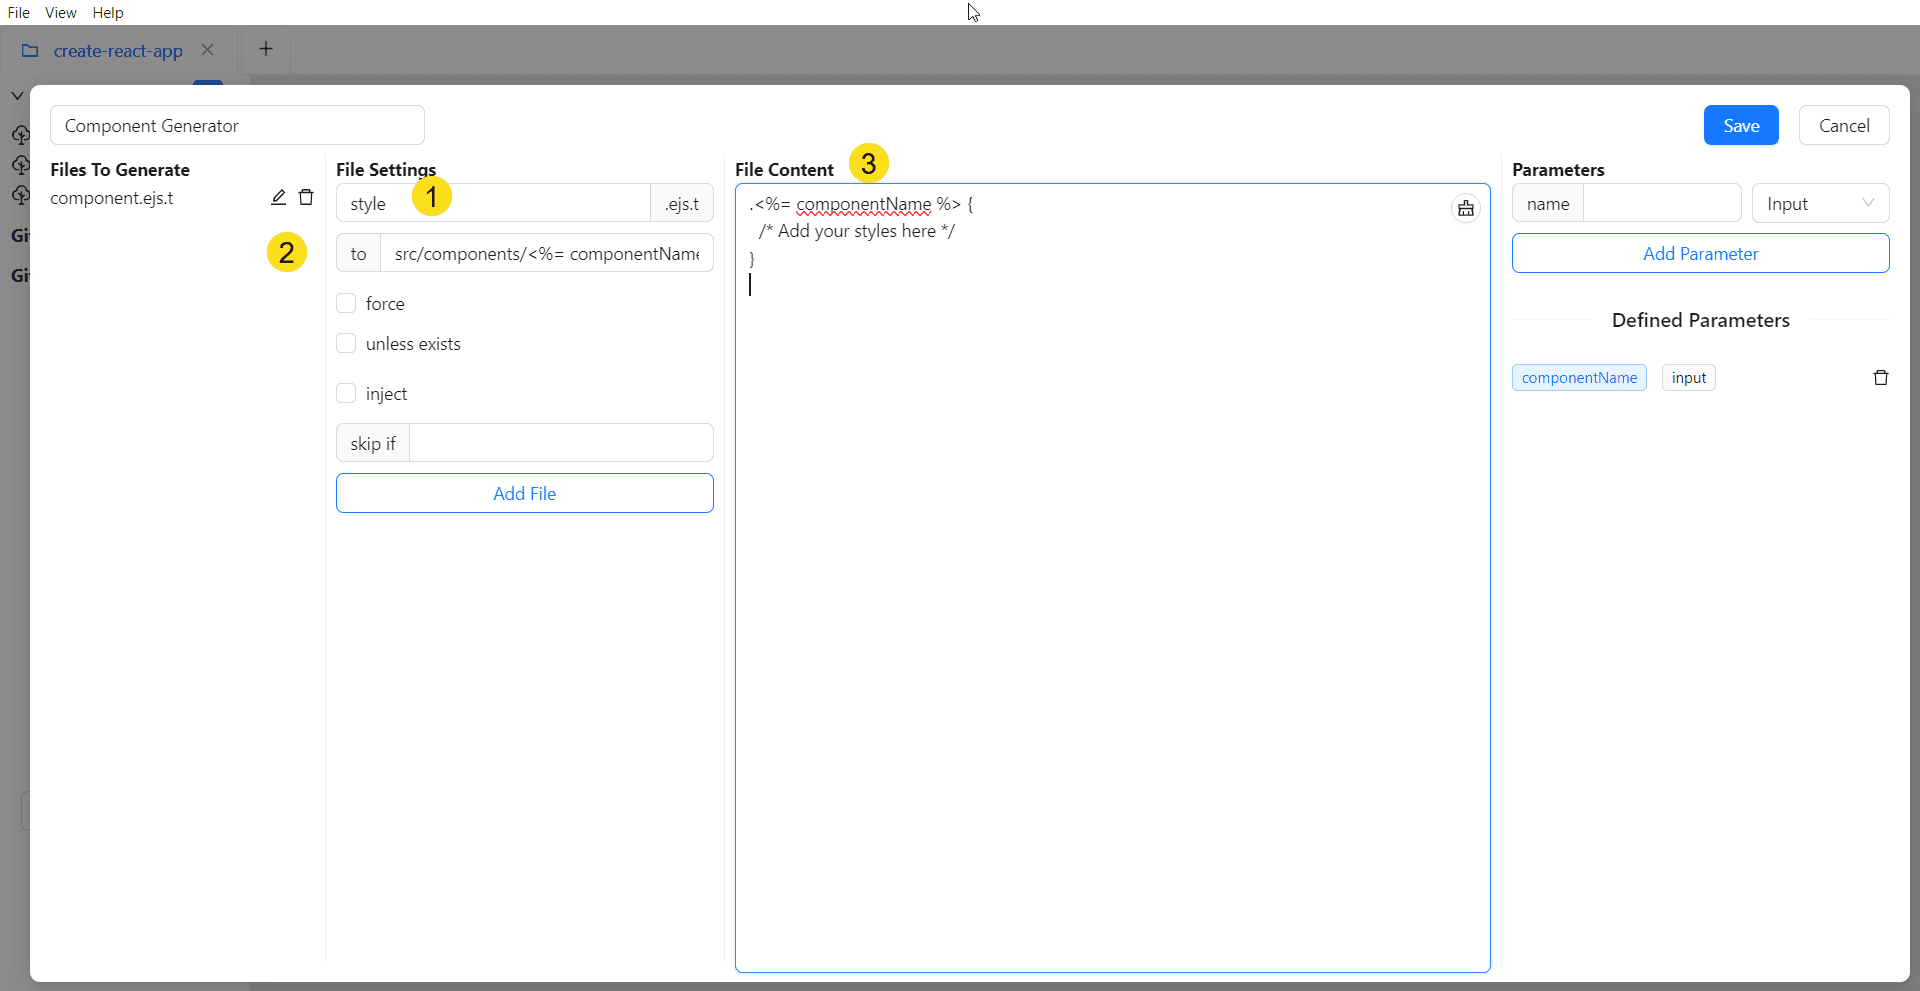
Step 5 – Add Additional Files (Optional)
If your generator needs multiple files (like a CSS file), click Add File again and repeat.
Example:
File name: component.css to:
src/components/<%= componentName %>.cssFile Content:
.<%= componentName %> {
  /* Add your styles here */
}
Step 6 – Save the Generator
When you’re done, click Save.
Your generator is now available in the Code Generators list.
 !(/images/content/code-generators/create-generator/list-generators.png)
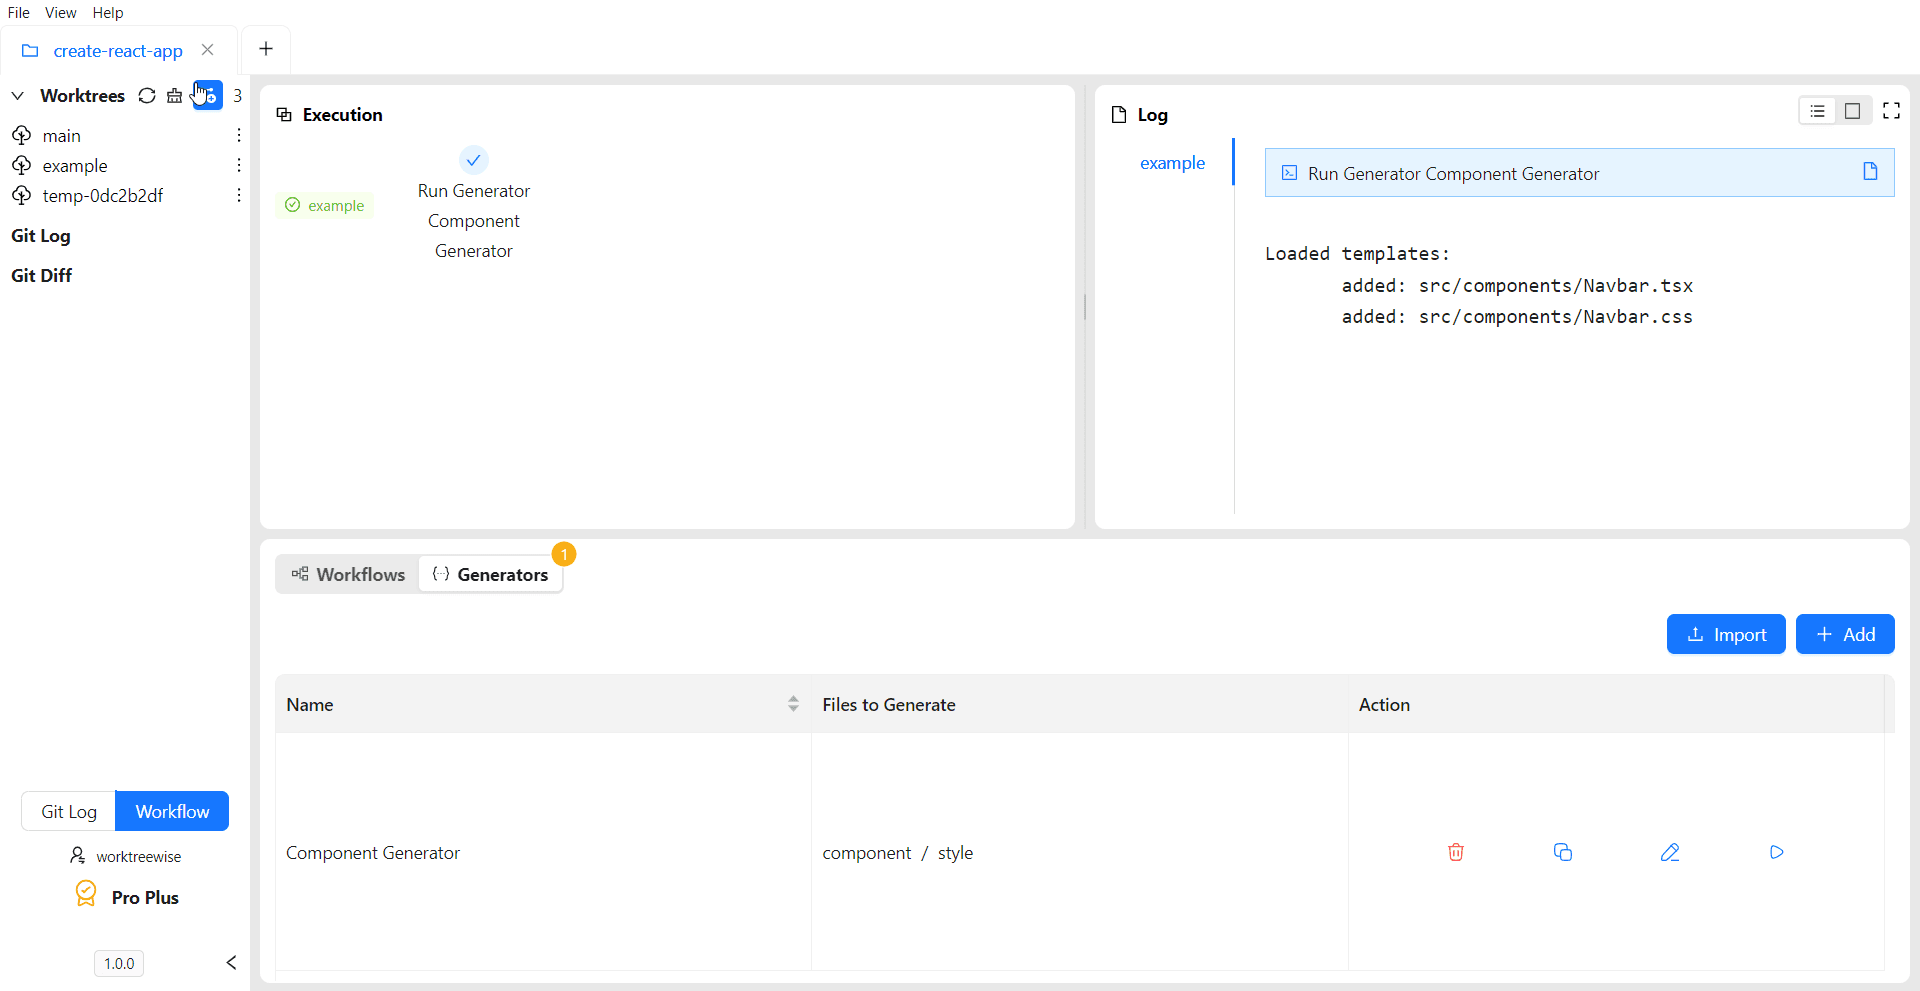
Step 7 – Run the Generator
- Select a worktree
- Fill in the parameters (e.g. componentName = Navbar)
- Click on Run button
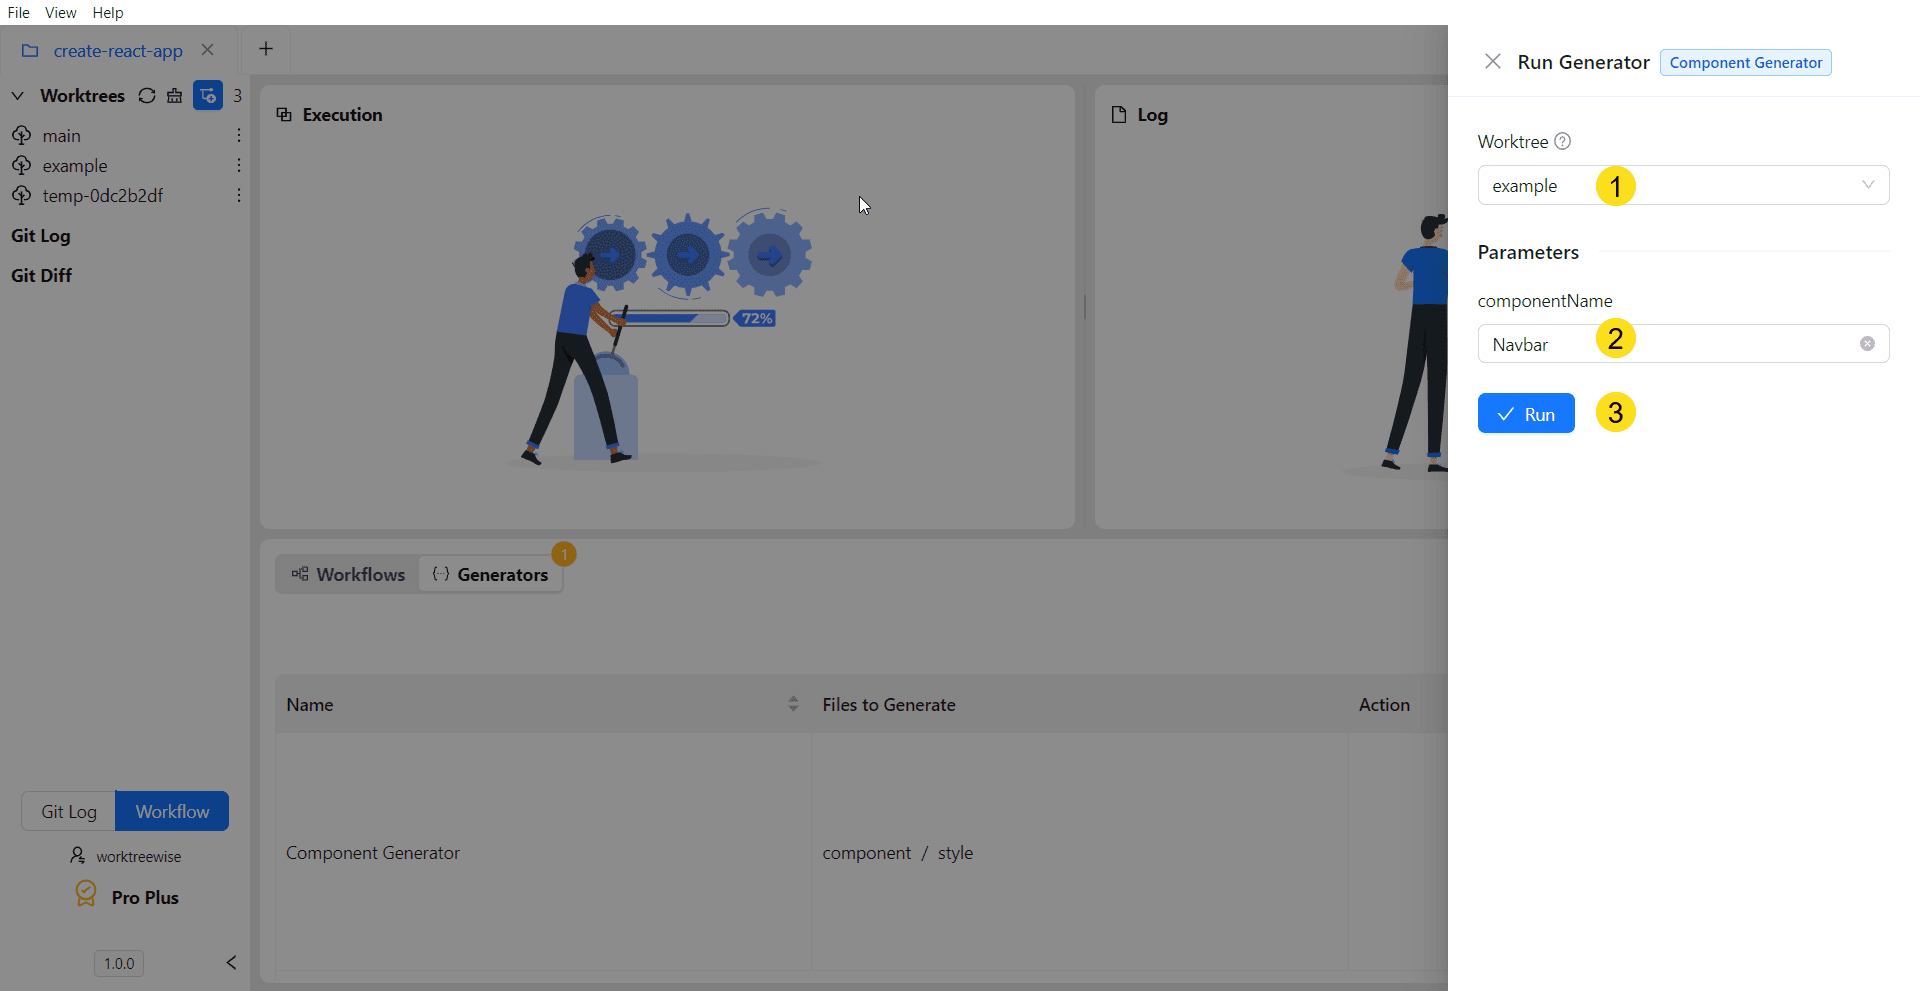
WorktreeWise generates:
src/components/Navbar.tsx
src/components/Navbar.css